Published 6th July 2022
How to create snippet in odoo
In Odoo, we can build our own custom website according to our requirements. Sometimes based on the requirements we may need to add some more features other than the default options. With the help of website builder feature, we can easily add the snippets by drag and drop option. In this blog, we are going to discuss how to create custom snippets in Odoo.
To create a custom snippet, create a new custom module and add the website module as a dependency in manifest.py file.
Then create a new XML file named snippets.xml inside views folder and add it to the manifest.py file.
'depends': ['website'],
 'data': ['views/snippets.xml']
In this XML file, we will add all the code to create the snippet and to make it visible in the editor.
<template id="s_social_media" name="Social Media">
    <section class="s_references bg-gray-lighter">
        <div class="container">
            <p class="montserrat">Follow us on</p>
            <div class="row">
                <div class="wrapper">
                    <a target="_blank"
                    href="https://wa.me/966570905656?text=Hi,%0AWe%20are%20looking%20for%20IT%20services.%20%0AKindly%20revert%20back%20to%20us.%0A%0A%0AThanks.%20">
                        <i class="fa fa-3x fa-whatsapp"></i>
                    </a>
                    <a target="_blank" href="https://www.facebook.com/iWesabe">
                        <i class="fa fa-3x fa-facebook-f"></i>
                    </a>
                    <a target="_blank" href="https://twitter.com/iWesabe">
                        <i class="fa fa-3x fa-twitter"></i>
                    </a>
                    <a target="_blank" href="https://www.linkedin.com/company/iwesabe">
                        <i class="fa fa-3x fa-linkedin"></i>
                    </a>
                    <a target="_blank" href="https://instagram.com/iwesabeerp">
                        <i class="fa fa-3x fa-instagram"></i>
                    </a>
                    <a target="_blank" href="https://iwesabe.business.site/">
                        <i class="fa fa-3x fa-google"></i>
                    </a>
                    <a target="_blank" href="https://www.youtube.com/iWesabe">
                        <i class="fa fa-3x fa-youtube-play"></i>
                    </a>
                </div>
            </div>
        </div>
    </section>
</template>
In the above code, we designed the snippet by creating a new template with a unique template id and name. Then we added the HTML and CSS code.
To add style for the snippet, create a new file named style.css. Then inherit the web.assets_frontend record and provide the path of CSS file.
<template id="assets_backend" name="snippet assets" inherit_id="web.assets_frontend">
    <xpath expr="." position="inside">
        <link rel="stylesheet" type="text/css" href="/custom_module_name/static/src/css/style.css"/>
    </xpath>
</template>
After this, we need to add snippet preview to the editor so we can quickly find it from the editor. It can be done by inheriting website.snippets record.
<template id="social_media_snippet" inherit_id="website.snippets" name="Place into snippet bar">
    <xpath expr="//div[@id='snippet_structure']" position="inside">
        <div class="o_panel_body">
            <t t-snippet="iwesabe_custom_snippet.s_social_media"
            t-thumbnail="/custom_module_name/static/src/img/social_media.png"/>
        </div>
    </xpath>
</template>
In this code, we first inherit the default website.snippets record. It holds the link to all available snippets. Then xpath the snippet_structure to preview our custom snippet in the editor. In this xpath element, we using the t-snippet element to call our snippet template and provide the path of snippet icon in t-thumbnail to add the icon for the snippet.
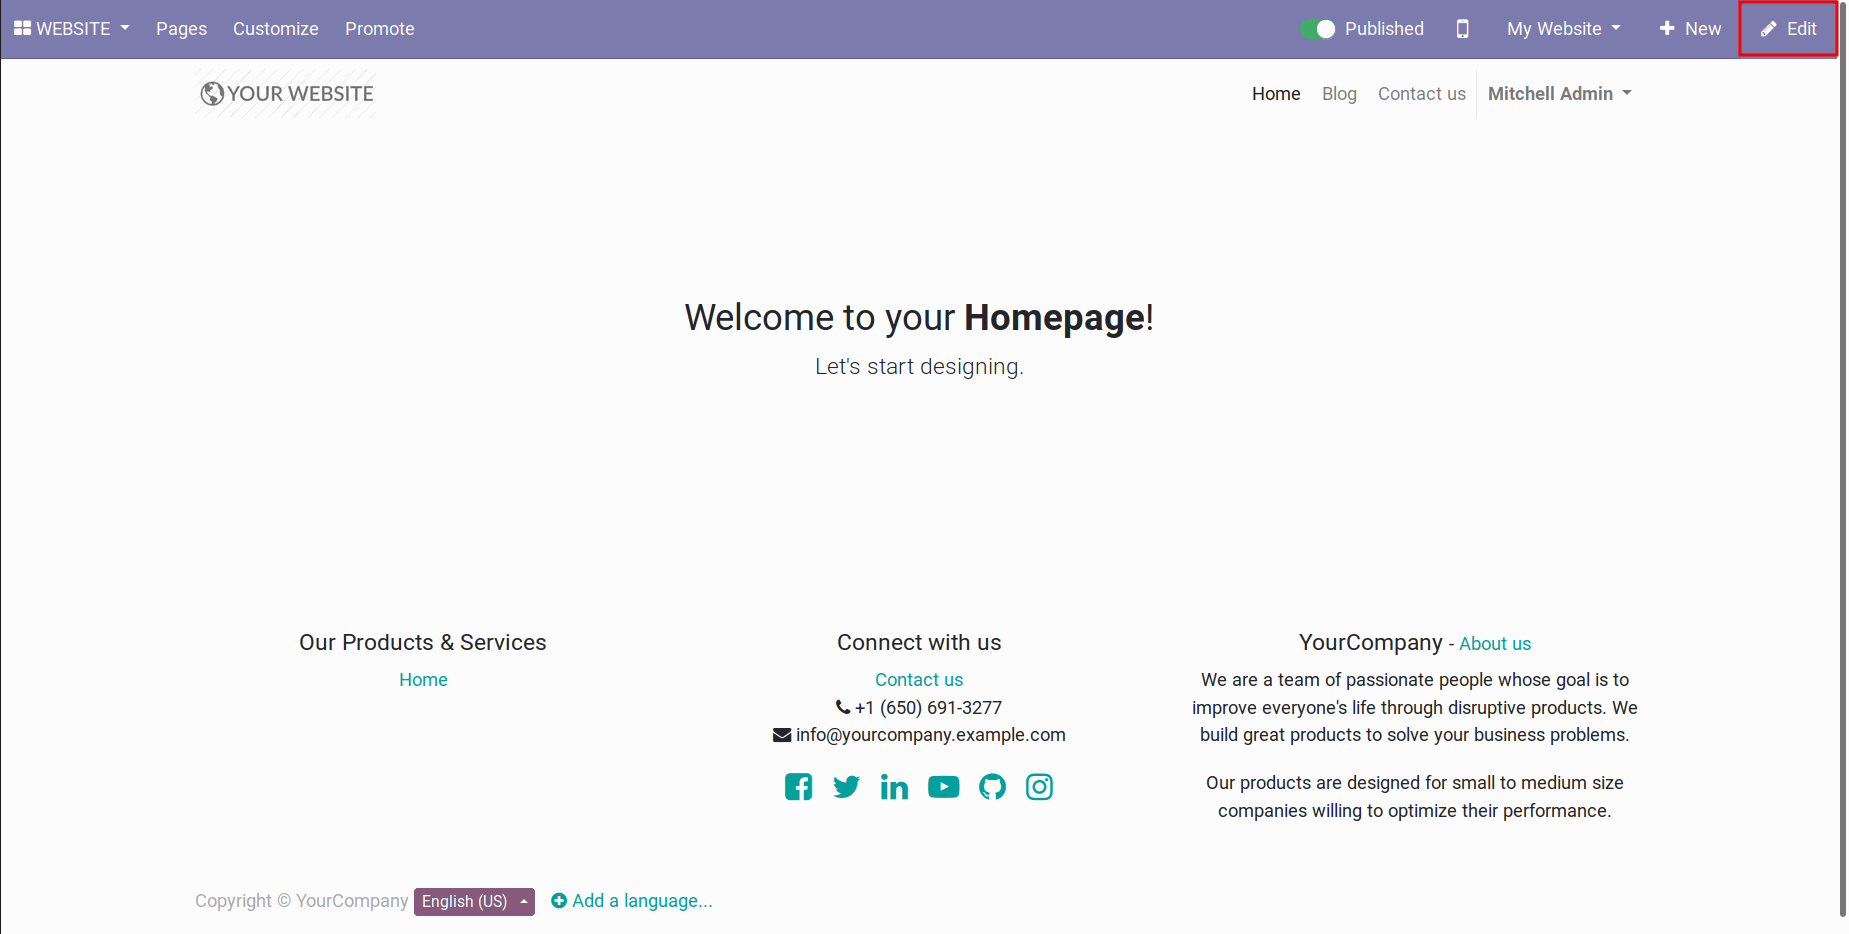
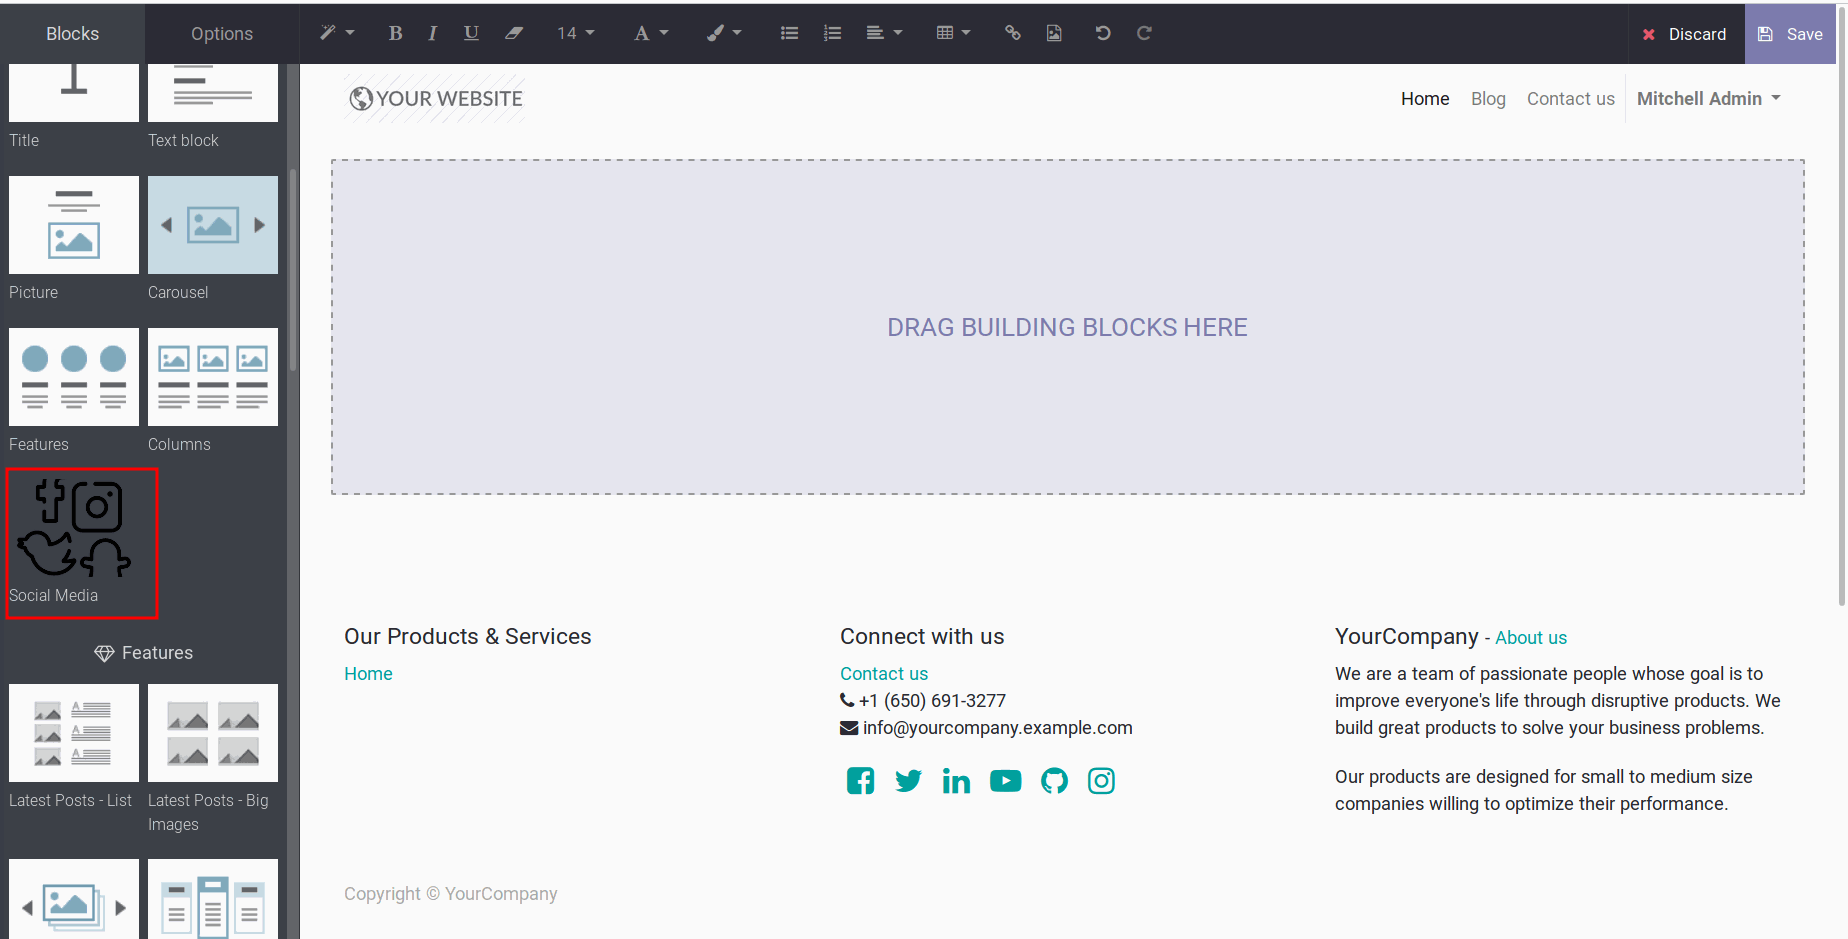
Then install the custom module and go to the website menu and click the go to the website button. In the website view click the edit button and we can see the created snippets.
Here we can see the snippets bar and icon of our custom snippet.

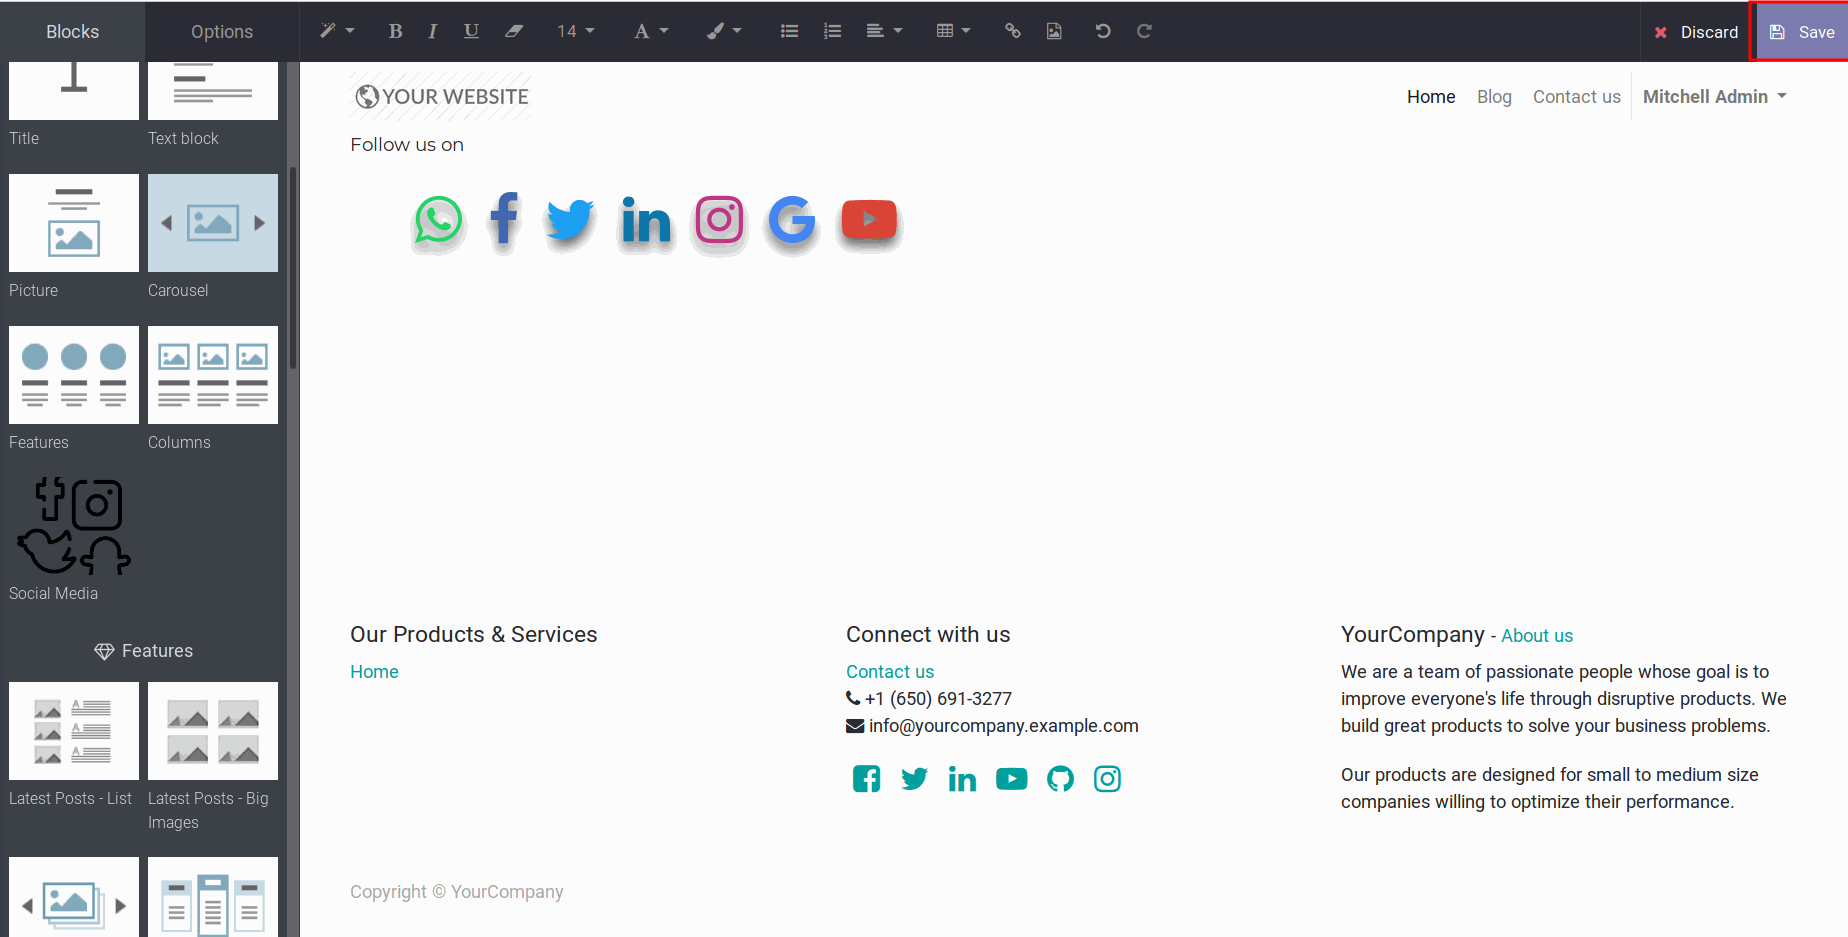
Then drag and drop the snippet and click save button.

These are the steps to create a snippet in Odoo.
iWesabe Blogger
Published 6th July 2022
Your Comments
Please fill all the details and give your valuable comments
No comments yet. Be the first to share your thoughts!